Sangria

sangria

Hot.  It is hot.  Cool, it is not.  How I wish it were chilly but it is hot, hot, hot, HOT.

Have I mentioned it’s hot?

People who hang out with me on a regular basis know some of my fave things in life.  Sangria is one of those things.

Sangria comes in a kajillion different ways but generally includes wine, fruit, juice and some other stuff.  While I appreciate a crisp white sangria, red is my go-to.

Lots of restaurants serve sangria and I must say that none of them make it better than I do.  (Oh no she di-‘unt just say that!)  Apparently practice does make perfect 😉 and I have finally given up ordering this when dining out as it’s just too disappointing.  Everyone tries to get all fancy-pants about it with 12-ingredient-long recipes and almost always waaaaay too much sugar.  Blech!

I even saw a restaurant in Mammoth Lakes this summer that boasted “World’s Best Sangria!”  Not even close.

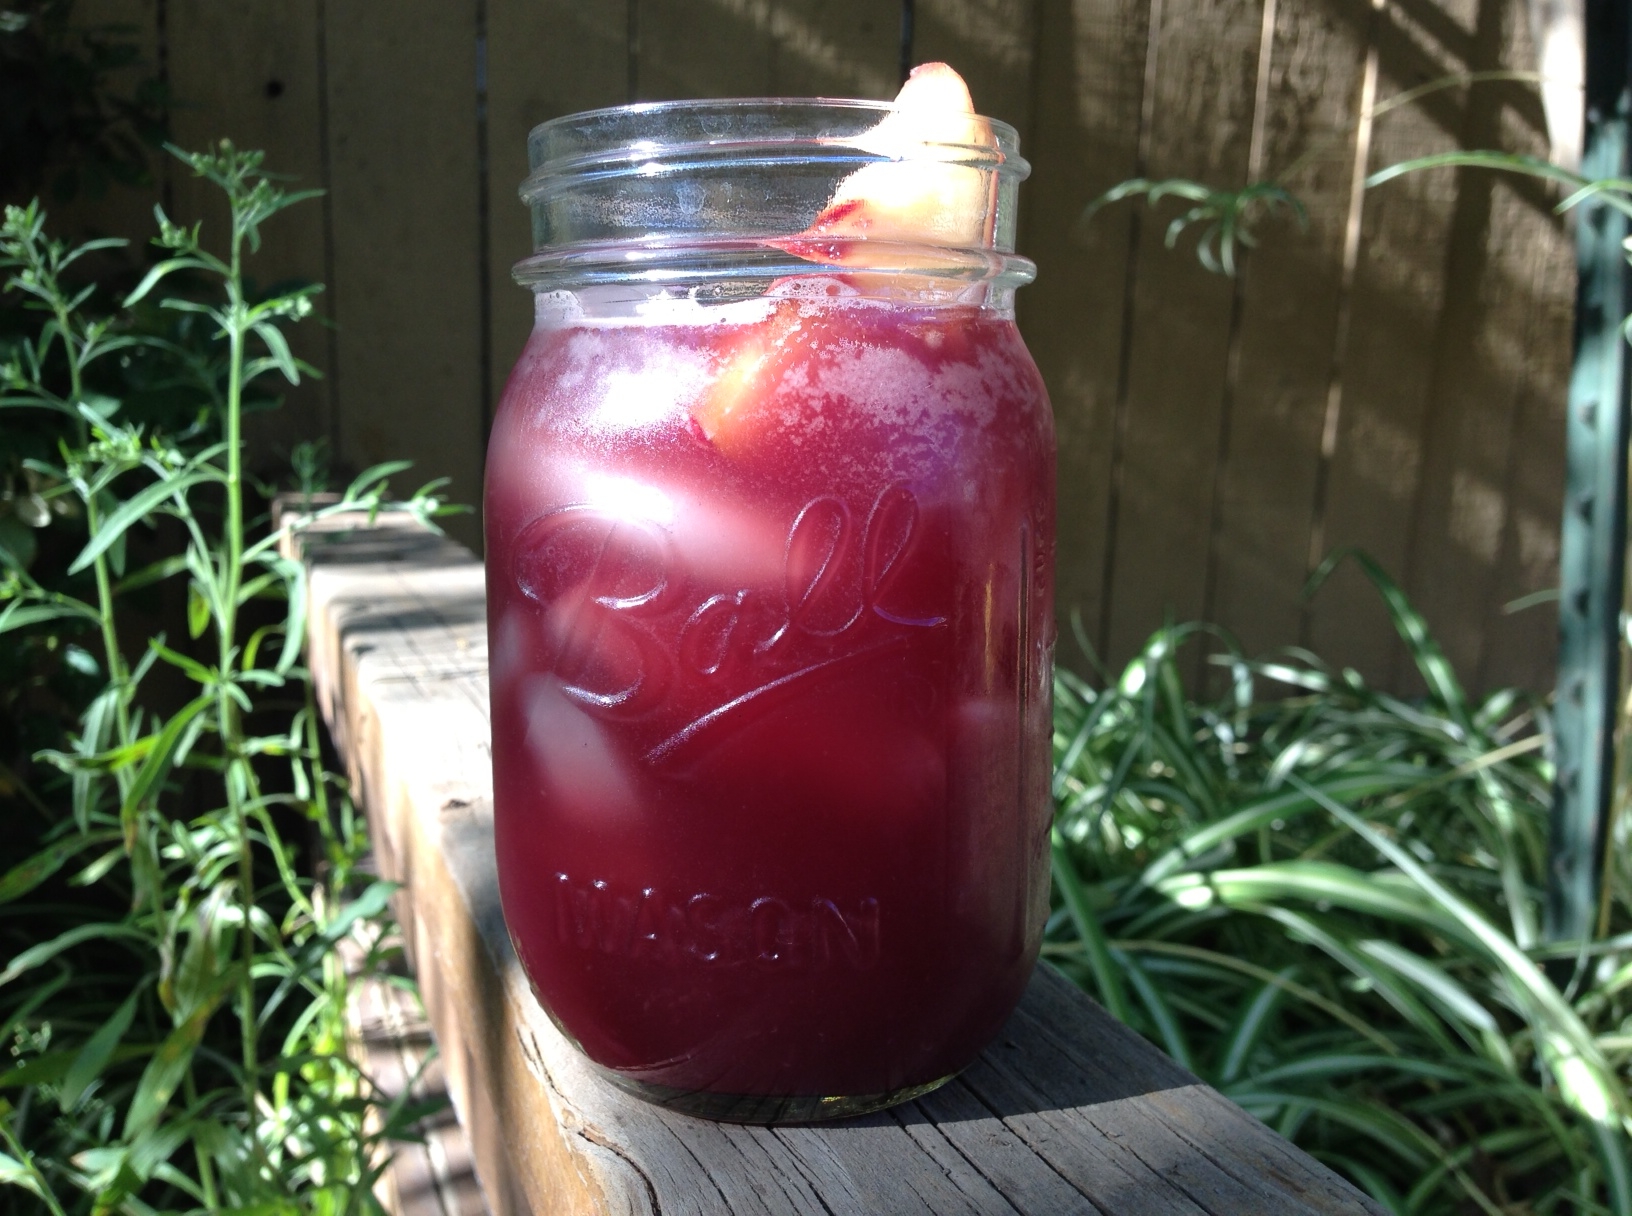
Simple.  Lightly sweetened.  Refreshing and beautiful.  I have a few sangria recipes I like, including one that uses pineapple juice and spiced rum, but for now please say hello to…

Michelle’s Simple Summer Sangria

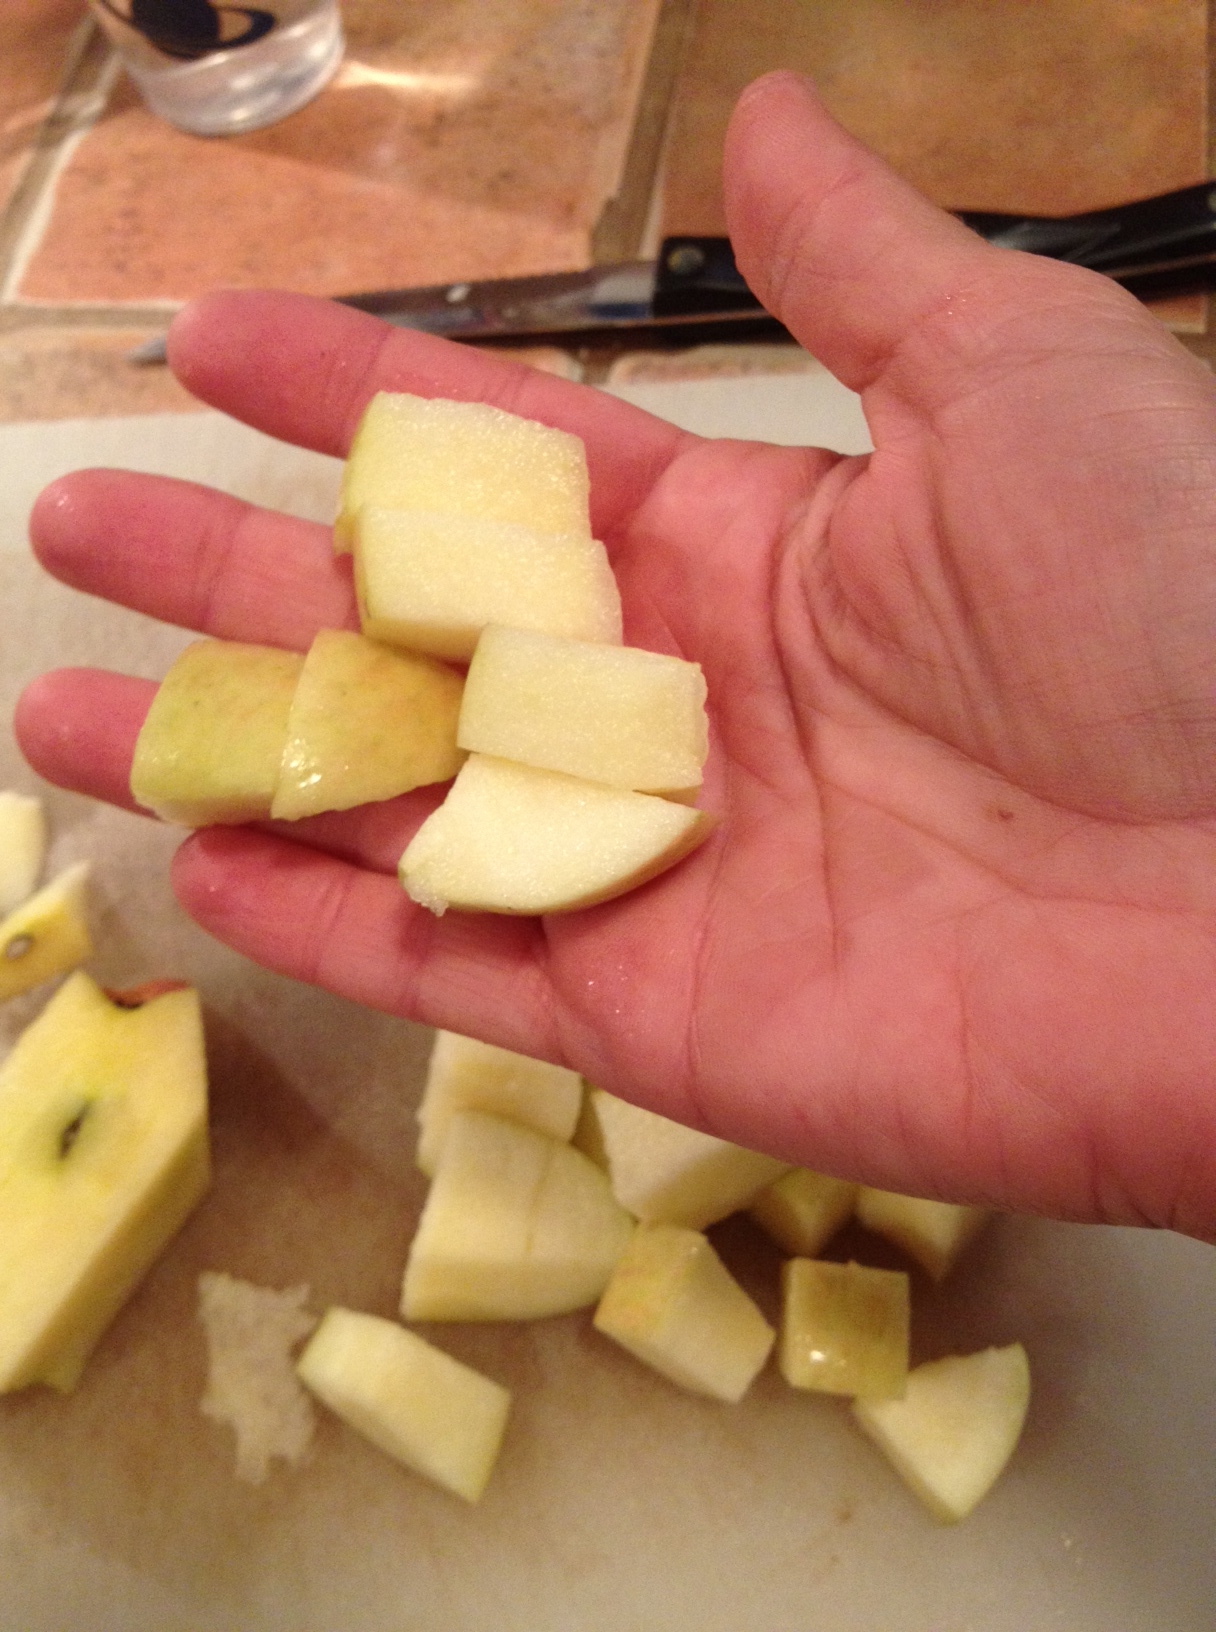
Ingredients: 1 bottle red wine, 2 cups OJ, 1 can club soda, chopped seasonal fruit (I used a nectarine and a plum here) 2 tbsp. sugar, 1-2 shots brandy or rum or triple sec.

Directions: Chop the fruit and set it in the liquor with sugar for an hour or so–longer is fine.  Chill all your ingredients and mix them all together, serve over ice (casually cute Martha Stewart glass jar optional) and smile.  You may want to add another 1-3 tbsp. sugar to taste.

Tips: Don’t break the bank on the wine.  A mediocre $5-7 bottle will do fine.  In the fall I make sangria with oranges and apples.  In the spring with strawberries and cherries.  It’s all good.  Really good.

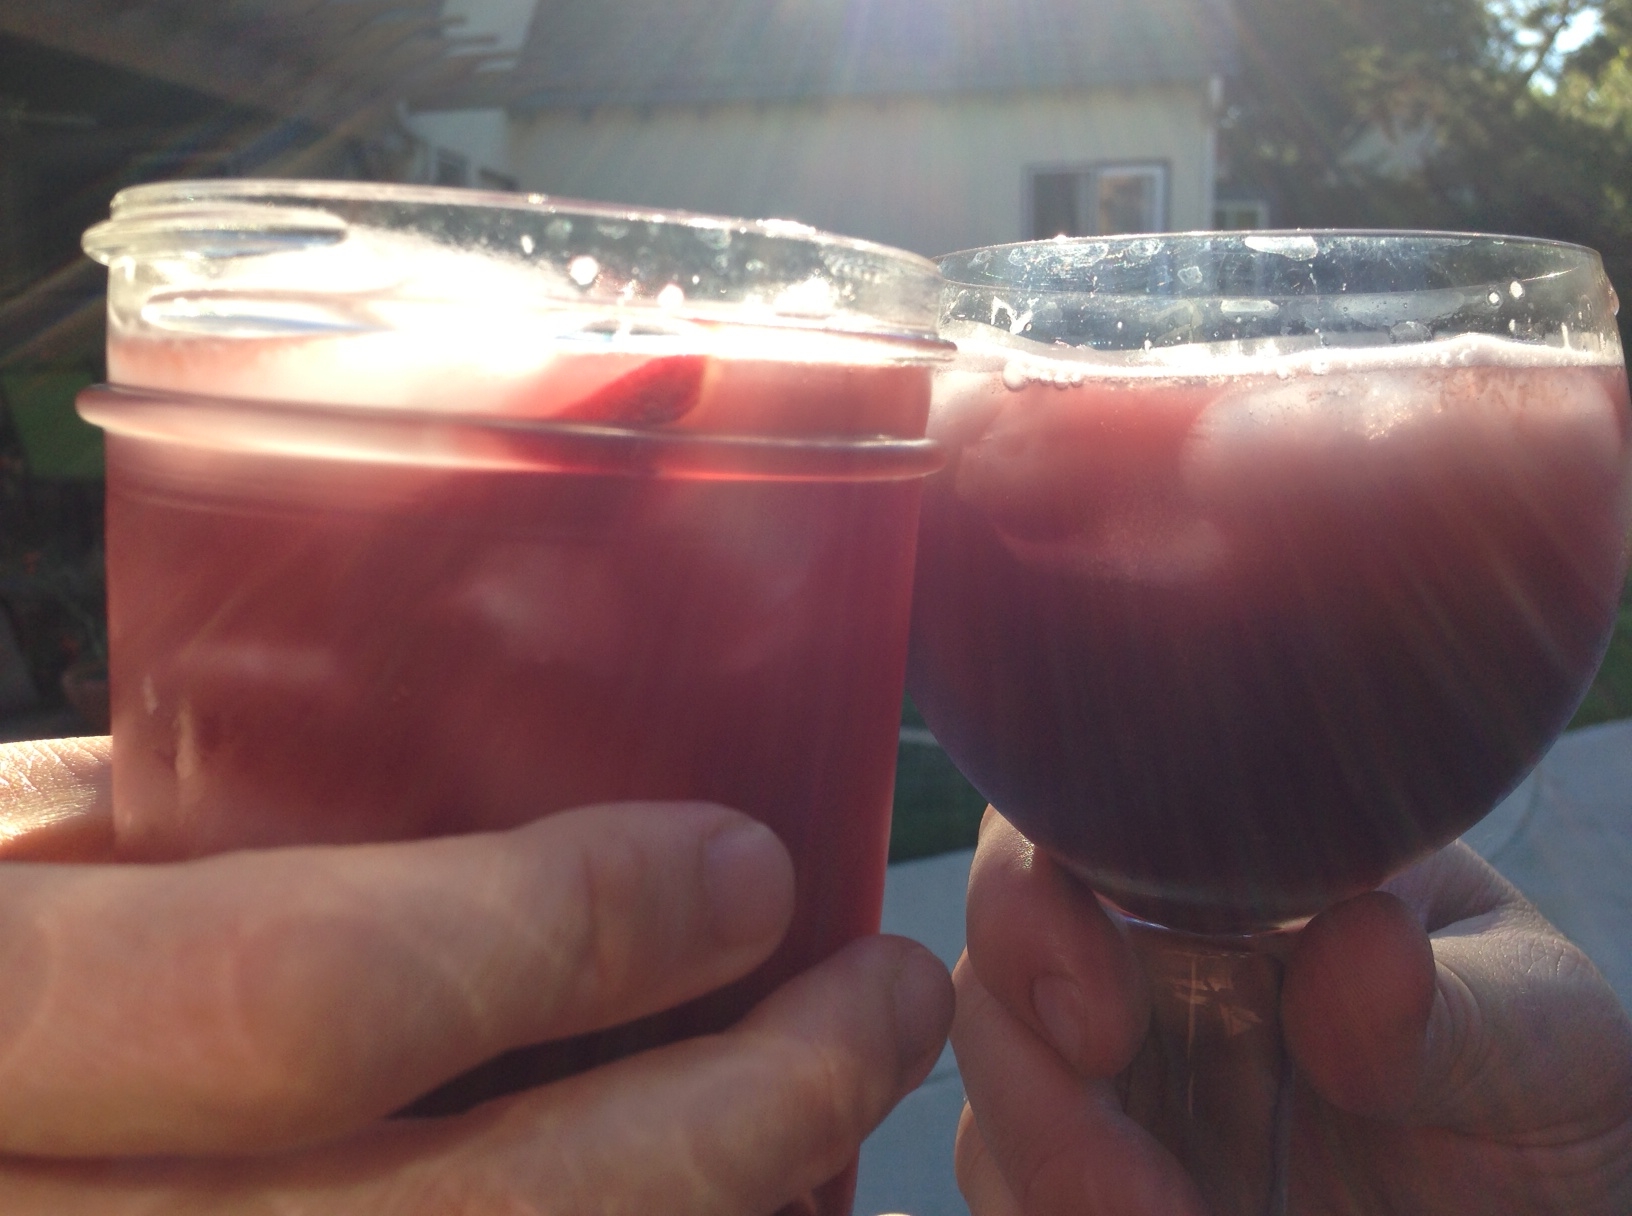
Bonus tip: Sangria always tastes better when shared with good friends, like Dale and Lisa.  Cheers!

sangria cheers!

Advertisement

Baked Beans for Labor Day!

baked bean casserole

Shocked as usual, I cannot believe that the unofficial end of summer–also known as Labor Day–is one week from today.  Wow.

My family loves baked beans.  LOVES them.  For a potluck party we attended a few weeks ago I decided to bring a baked bean hotdish (Yes, I’m from Minnesota and we do that.  And we make it in Corning Wear which is featured above.  So there.)

Baked beans are so cool because, although they’re a bit heavy on the “sugary side” of life, they are still a great source of fiber, complement a million different entrees (burgers, brats, BBQ chicken, pasta–no, not pasta!  Just checkin’ to see who’s awake this Monday morn. :)), and are super cheap-ola to make.  That’s a win-win-win in my book.

So, to create this giant pot of yum I Googled Baked Beans and basically pulled bits from a handful of recipes that looked pretty dang tasty.  I grabbed what I already had in the cupboard and fridge and through it all together.  It was the right approach.  The beans ROCKED!

Michelle’s Everything-But-the-Kitchen-Sink Baked Beans

Ingredients:

Step one:  1 large onion (I used a Maui which is sweet) diced, 1 diced bell pepper, 1 diced tart apple, 3-5 crushed cloves of garlic, few handfuls of leftover diced ham (recipes called for bacon but I didn’t have that), black pepper, two tbsp. olive oil

Step two: 5 15 oz. cans of baked beans (I used Bush’s, plain), 1/4 cup ketchup, 1/4 cup mustard, 1/4 cup brown sugar, many dashes of chili powder, chipotle powder, black pepper, few glugs of Worchestershire, soy sauce, dash of balsamic vinegar, splash of beer (kinda fell in…)

Directions: take your step one ingredients and saute in a pan until the onions and pepper soften (approximately 10 mins) like this:

pre-beans

Then toss it all together with the step two ingredients in a giant pot.  Mix it up and pop’er in the oven at 350 for 60 or so minutes.  I broiled the top so it would get that nice darker crust situation goin’ on.

(Side note for my measuring friends: this is a great example of a time when it’s really best to just wing it.  I mean with a list of ingredients like the one above, how can you go wrong?)

The party guests made quick work of this dish, and I was glad I had made so much.  The leftovers for dinner the next night were even better!

And, if I get invited to a Labor Day celebration, I do plan to make these beans.  Just puttin’ it out there…

P.s.  Quick shout-out to my South Pasadena Mom’s Club peeps who attended “Thinking Outside the Lunchbox” last night!  It was so much fun!!!

Glass ‘O Green Stuff

green juice 3

I’m a big drinker.  Yup.  I love to drink stuff of all kinds.  I’m a  fruit smoothy lover and have been poking fun at my girlfriend, Noeleen, for drinking what appears to be a daily thermos of blended grass for a long time.

To shut me up she brought me some to sample (finally took the hint!) and I thought I’d share her concoction with the world–or at least my little corner of it.   I know you can drink green leafy thingies, and have done so before.  I must admit, however, that it is a bit odd to look at some fresh greens and think…

green juice 1

..I am going to drink this.  Weird, I say.

This glass ‘o green stuff, my friends, is darn tasty I will attest.  And I don’t mean that in a “I eat so much healthy food that my taste buds have morphed into a state where even weird things taste good.”   I am not one of those “dark side” kinda folks.  Promise.   Really

Noeleen’s Glass ‘O Green Stuff (which I modified and still enjoyed–see my version, below)

Ingredients:
1 cup juiced pineapple (if that’s too intense trader joes has 100% pure pineapple juice;)
you can also substitute the juice for water…it still tastes great!)
1 Granny Smith
1 handful of spinach
1 handful of kale
1 handful of frozen pineapple.
Directions:
cube the apple and put in blender with water or juice.
blend the heck out of it;)
add the spinach & kale
add the frozen pineapple
enjoy:)
Michelle’s version (aka: I didn’t have exactly what Noeleen described so I took a few liberties… so unlike me.)
Ingredients:
handful spinach
1 handful kale
few big scoops of apple sauce (I had bought a Granny Smith apple for just this purpose, but Mike found it in the fruit bowl before I got to it!)
can of pineapple including juice
few ice cubes
Directions: (and here’s a pre-blending photo for your viewing pleasure)
green juice 2
Blend the heck out of it and drink!
Tips: I think the key is the pineapple in one form or another.  It has such a sweet and tangy flavor that it can work with, well, some green leafy stuff that you wouldn’t likely consider drinking in the first place!  The apple, whether fresh or as a sauce, provides some added sweetness of course.  I think strawberries would work well.  Wouldn’t go for melon, though, as I think it would be too mild.  I mean, we are drinking kale here; you need some power behind it!
While Noeleen’s kids love this beverage, mine were–surprisingly–not so enthused.  For me though, I like to make one of these a couple times a week and keep it in the fridge.  I can grab a glass here or there and know I’m getting some quick and good nutrition for a girl on the go.
Some final nutritional notes on kale (aka: the Queen of greens!)…
Kale is high in fiber and contains no fat.  Kale is high in iron, vitamin A, C and K, is loaded with calcium and is filled with powerful antioxidants.  It is an anti-inflamatory food that also supports good cardiovascular health.
That’s a lot of bang from a small little green guy.  Hope you enjoy this tasty and healthy recipe!

Criss-Cross

Homemade Apple Sauce

Right now at local farmer’s markets and in supermarkets, apples are in season!  My kiddos, likes lots of kiddos, like a good bowl of apple sauce.  I started making my own when my first was a baby.  It was the first homemade baby food I ever made!  I make it now because I can buy delicious, locally grown, organic apples from the ugly bin at a hugely marked down price (sometimes even 80 cents per pound!), cut out the random bad spot, and whip up a BIG pot of yum.

Making your own apple sauce is obviously a tad more time-consuming that opening a jar from the store, but it’s super easy, the result is very worth the effort.

Step 1: Cut your apples into cubes, removing any offending spots.  I leave the skins on.

step 1

Step 2: place your apple cubes into a cooking pot and add water until just over 1/2 of the apples are covered.  When the apples cook down, they will add a lot of liquid, and you don’t want the sauce too runny.  (If it does look too runny after boiling, you can drain a bit of the liquid before blending.)

step 2

Step 3: Heat until boiling and then simmer until the apples are soft enough to mash.  How long you ask?  Sorta depends how many apples you’ve got in your pot.  After they are boiling I test mine after about 10 minutes simmering.

Step 4: Mash those babies up!  I use one of my favorite kitchen gadgets that I can’t even remember the name of… At our house we refer to it as “the wand.”  I like it because I can stick this vicious little blade right in the pot, push the button and wah-lah.  You can use an electric mixer or even a blender though if you don’t have a magical-vicious-blade-wand like mine. (By the way–this doohicky is from Target.  Nothing fancy.)

step 3

Blend it until it looks like, uh, apple sauce.  In case you’ve never seen apple sauce before (I want to meet you.  Where in the world are you from?) here’s a photo I took and may as well use!

step 4

Step 5: ENJOY!

step 5

Tips: I also blend up some of this yum if I’ve purchased apples that taste mealy (I hate that, don’t you?) or have been sitting in my fruit bowl long enough to look sad.  Cold apple sauce is a great snack on a summer’s afternoon, and warm apple sauce is dreamy for breakfast in the winter.

I typically make sauce with 4 or 5 pounds at a time, to make the effort worth it.  It keeps fine in the fridge for days (if it lasts) and can be frozen for longer storage.

Pears or strawberries (if you have some lying around) can also be thrown in and will make the sauce even sweeter.  The berries don’t need to cook for more than two or so minutes.

Final tip (still with me?): This is a great kids-help-in-the-kitchen recipe for my 7 and 8 year-olds (5 year old soon!)