Easy-Peasy-Smoothy

smoothy 2It’s a blustery-leaf-blowing brisk fall day in SoCal, and for whatever reason I’m in the mood for a good cold smoothy.  So sue me.

Recipes for smoothies kind of crack me up.  I mean really.  REALLY?  Throw some stuff you like in a blender and hit puree for heaven’s sake!  Sometimes my smoothies come out a bit too thick, so I add more water or juice.  Sometimes they are too runny, so I add another banana or just deal with it.  Sometimes they are not sweet enough, so I add a tablespoon of honey.  If it’s not cold enough I add some ice… I think you get the picture.

But for my friends who prefer to measure and, like, be organized about their smoothies, I recorded what I did today and now I will share it with you.  You’re welcome.

Michelle’s Go-To Smoothy

Ingredients: 1 can of fruit (pineapple, pears or peaches) including the juice, 2 bananas, 1 cup orange juice, 1 cup yogurt, 2/3 cup raw oats.

Directions: blend and drink.

Tips: Only buy canned fruit in juice.  Why in the world did people start putting “heavy syrup” on fruit.  Yuck.  I seriously think only bad people buy that stuff (OK, I may have overstated my case here but seriously–it’s sweet already!) I also avoid any canned fruit with artificial sweeteners.  Yipes man.

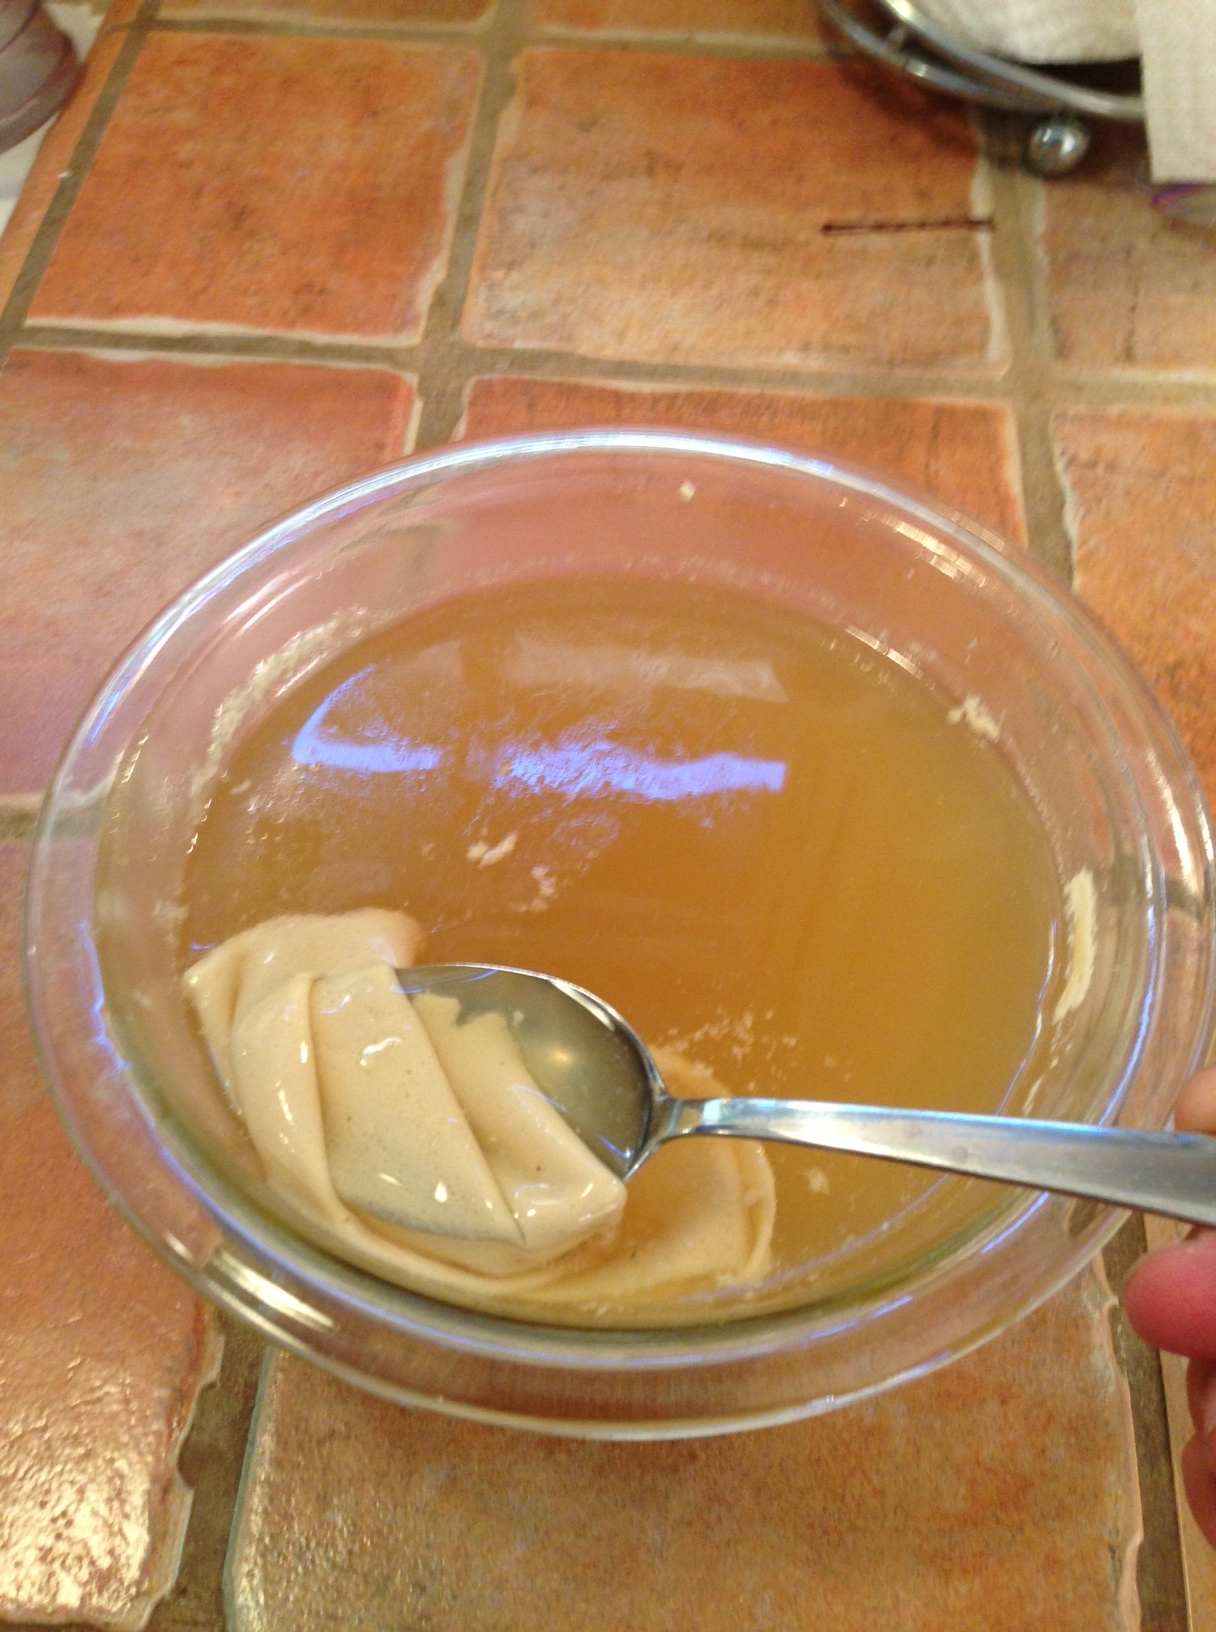
If I use plain yogurt I sometimes add I bit of honey to the mix as well.  I started adding raw oats to my smoothies years ago and I must say: YUM.  The oats are an easy way to bulk up the drink–especially for hungry kiddos and husbands, but you need to let them sit for a couple of minutes to soak up the juice so they break down nice and easy for ‘ya.
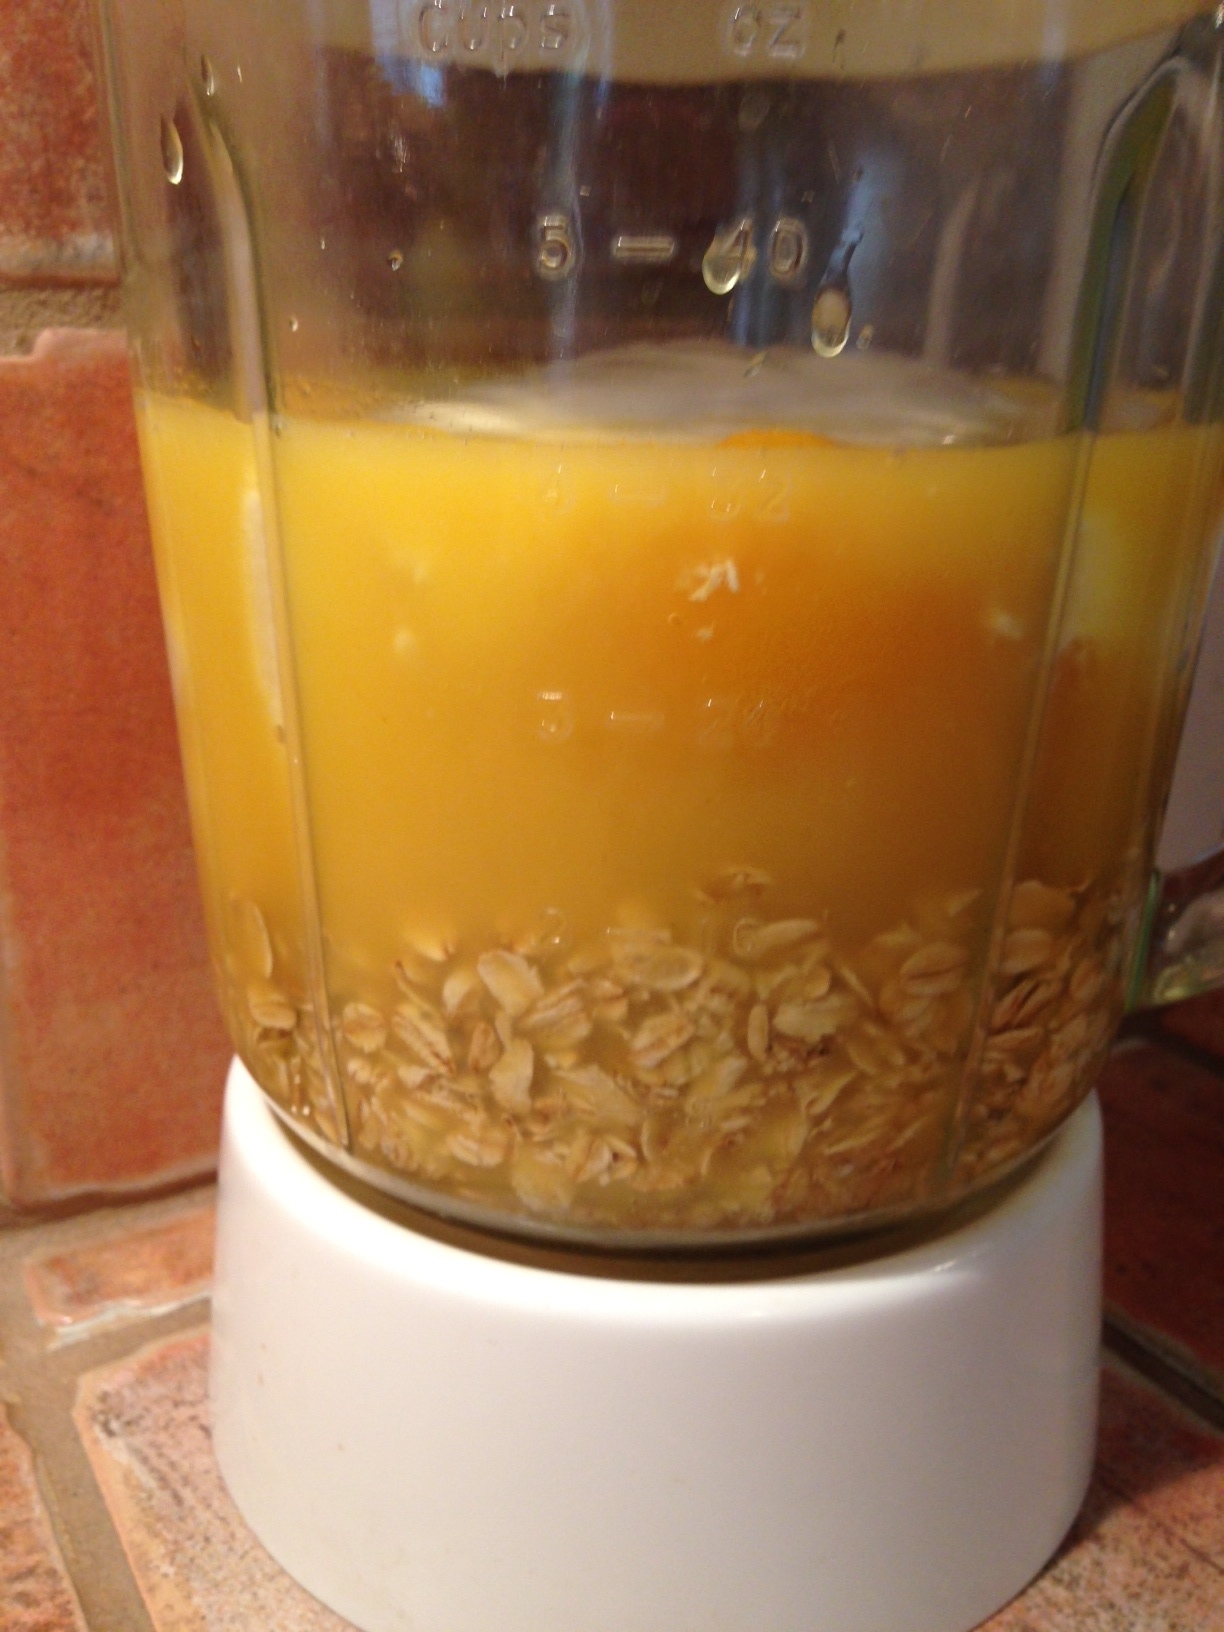
smoothy 1Like this, see?

Finally, (boy this is a lot of tips!) I do use fresh fruit for smoothies too, but only the ugly, too-soft pieces.  The good stuff gets eaten up w/out all this hassle!


French Toast Baby

french toast

I love living in my almost 100 year old house that is just a tad chilly in the mornings this time of year.  I put on my Uggs (knock offs), wrap up in a fleece something-or-other, make my coffee (my mouth is watering right now) and think about what’s for breakfast.

French toast baby.  Who doesn’t like French toast?  Actually I have a finicky nephew who won’t eat it but I still love him (even though he’s clearly very weird.)

Just like when I make pancakes, I make a TON of French toast–I literally use an entire loaf of bread or more at a time–that keeps great in the fridge or freezer for the next crisp fall morning.  Assuming not everyone is interested in mountains of breakfast stuff, however, I will now present to you a recipe for, like, a normal amount of French toast.  K?

Michelle’s Buttermilk French Toast:

Ingredients: few slices of bread (getting old is dandy) 4 eggs, 3/4 cup butter milk, two tsp. vanilla, two tsp. sugar, tons of cinnamon.  Additional options include a dash of almond extract (careful with nut allergies,) dash of nutmeg, pumpkin spice, stuff like that.

Directions: Set bread aside.  Whisk everything else together and  dip each piece of bread completely into the mixture.  Then place the soaked bread onto a heated cooking surface with a little oil (forgot to mention that in the ingredients)  Cook both sides on a medium heat.  Top with maple syrup or delicious other things like powdered sugar or tasty jams.  My mouth is watering again!

Tips: as I mentioned above, bread that is getting a bit dry is fine, in fact some folks like it better as it will soak up all the buttermilk-eggy mixture even better.  My favorite bread to use is a hearty whole wheat sour dough.  I like the sour dough contrast with the sweet syrup or whatever… so good.

‘Ode to Saturday

produceMan does this make me smile.  Ear to ear and forehead to chin.  I love this  day.  LOVE it.

Pictured here is the result of my weekly pilgrimage to my PHS favorite farmers market.  LOVE that place.

It never ceases to amaze me how a spread like this dissappears each week–but I don’t question it.  LOVE good produce and so does my family.  Yeah for us!

Today is a gloriously warm late-summer-feeling-but-actually-it’s-fall SoCal day.  This is the kind of day where the cost of living ’round here is warranted.  (As my Midwestern transplant extended family and I have been known to say, “Sure the schools are underfunded, the health care is in shambles, it’s crowded, expensive and overwhelming… but it’s so nice outside!”)  I LOVE California!

This afternoon is the Fall Festival at my kiddos’ school.  We will arrive in costume to set up our fun booth that we created with some friends and will arrive back home several hours later, hair spray-painted, faces decorated, bellies full of popcorn and tacos… and a whole week’s full of this rainbow produce scene to look forward too.  I LOVE rainbow produce!

LOVE!  LOVE!  LOVE!

Real Time Teriyaki Turkey Sandwiches

teriyaki sandwich done

So I still have leftover turkey (can I get an “Amen, sista!”) and by “real time” I mean that I am, in fact, making these sandwiches right now.  it is 10:30 in the morning and if you think this is a strange time to be making dinner, you obviously haven’t attended my Meal Planning 101 Workshop. 🙂

Teriyaki Sandwiches (could also be made with chicken, pork or beef but I got turkey so there)

Ingredients: 1 tbsp. olive oil, 2 diced stalks of celery, 1/2 diced med. onion, 2 cloves garlic, 1 diced bell pepper, diced left over turkey, 2-3 tbsp. balsamic vinegar, 2-3 tbsp. soy sauce, 1/4 cup or so brown sugar.

Directions: Place oil and onion on stove top and cook at med/high heat till onions turn a bit translucent (about 5 mins.)  Add celery, garlic, bell pepper.  Mix and let simmer until the other veggies begin to soften (another 5 or so mins.)  Then add 2 tbsp. vinegar and soy sauce and most of the brown sugar.  Mix, cover and set heat on low so the veggies can really cook down and soak up all that yummy sauce.

When veggies are cooked, add your diced meat, stir and heat for a few minutes.  Taste and add soy sauce, vinegar or brown sugar as needed.

I was feeling very snappy whilst simmering away this morning, so if you are a visual learner, here are some photos for you:

teriyaki sandwich 1 Here are the veggies getting started.  Aren’t they gorgeous?

teriyaki sandwich 3 And here are our veggie friends after they’ve been reduced a bit and tossed together with the meat.  I wish you could smell this photo…

teriyaki sauce Finally, these are my good friends, teriyaki sauce ingredients (aka: brown sugar, balsamic vinegar and soy sauce.)  For a simple teriyaki sauce situation I use the the 2-3 tbsp. soy/vinegar plus a 1/4 cup loose packed brown sugar, then adjust to taste.  If I need more liquid–like if I’m making stir fry over udon noodles or something like that–I sometimes toss in a splash of orange juice or a little meat broth.

I plan to serve these guys on whole wheat buns for dinner, but it would be also be delicious on rice or a baked potato!

‘Dem Bones

turkey carcass So anyway, back to that turkey carcass…

As I’m sure you recall (not) I make it a point to stretch every dang dollar that I spend on organic meat because, uh, it costs a lot of dollars!

If you are not familiar with making a stock from the bones of an animal, you may think it rather primitive–which it may be.  But I assure you that making your own stock is not only a good use of your organically spent dollars, it is healthy and actually quite gourmet.  (and for my vegetarian friends–yes, you can make a soup stock from vegetables as well, but we are going with the turkey scene here.)

Bones.  When I cook meat I pretty much always chose cuts with bones.  Why?  Because there is soooooo much flavor in those little guys.  Even if I cut the meat away from the bones before serving, cooking them on the bone always yields a better flavor.  Plus, then I have something with which to make a stock so it’s a win-win!

To prepare a stock takes a bit of effort, but it’s way worth it.  First step is to remove all the meat you can from the bones.  Then I place what’s left of the carcass in a large pot with whatever I had used to season it (onion, garlic, citrus) as featured above.  Sometimes I add a little salt, maybe a slug of white wine… just depends.

Next add enough water to cover your goodies, place a lid on top, bring to a boil and then reduce heat to a low boil for about 90 minutes or so.

bones cooking

The longer you cook the bones, the more flavor your broth will have, but there comes a point where you start saving on the organic meat dollars and then spend more on your gas or electric bill.  So I usually go about 90 minutes or so.  At this point, by the way, your kitchen is smelling so good you won’t believe it.

Now you’re going to strain the broth from the bones.  I like my metal strainer because the holes are tiny (no bones get through!) and then I can put it in the dishwasher to clean it.  It will be a bit greasy when done.

This time I had enough broth to fill one large glass bowl:

bones strained

Plus another small one:

bones done

At this point, your carcass has done its duty.   It has nothing left to give and you may now dispose of it knowing that you have taken advantage of every cent that went into it.  Congratulations.

Final step: I chill the broth so the fat will rise to the top.  Even though I don’t cook the skins, there is still some fat in the broth.  This is the kind of gross part but there you go.  I take a spoon and just skim it off the top:

bones fat Just collect this gross stuff and toss in the trash.  I don’t recommend putting it in your sink unless you’ve already called the plumber.

And there you go.  What does one do with a soup stock/broth like this?  Don’t get me started.  Just like you use store bought chicken broth to use for cooking, this stock can be used to cook rice, make soups, sauces, couscous, whatever.  It can be frozen in ice cube trays if you like to use little bits at a time, or in freezer bags or larger containers for later stock-using days.  Or you can just take what you’ve got and make some soup right now!

Absurd side note: my mother and I have been known to fight over a carcass like a pair of jackals if we’re at the same gathering.  “What a delicious meal!  Thanks so much for inviting us–and if you don’t mind me asking… what are you going to do with that carcass!?”

Don’t I hate it when the host notifies me: “Sorry, your mother asked first!” 🙂

I Also Made Pumpkin Pie

pumpkin pie

Quick shout-out to the Calvary Preschool Peeps who hired me to get everyone “Thinking Outside the Lunchbox” last night.  I enjoyed our time together!

Pumpkin Pie is not my favorite.  In my opinion, if I’m being perfectly honest, pumpkin pie is just, well, OK.  In the opinion of my family and all the guests at the pumpkin palooza party, however, this recipe for pumpkin pie is the bomb.  I seriously saw a few kids licking their plates clean (possibly adults were doing it around the corner or something.)

So, even though I didn’t really dig in to this, chances are you will. 🙂

Old Fashioned Pumpkin Pie

Ingredients: 2 cups pumpkin, 1 1/2 cup heavy cream or 1 12 oz. can of evaporated milk, 1/2 cup brown sugar, 1/3 cup white sugar, 1/2 tsp. salt, 2 eggs plus the yolk of a third egg, 2 tsp. cinnamon, 1 tsp. ginger, 1/4 tsp: cardamon, cloves, nutmeg, 1/2 tsp. lemon zest, pie crust (and yes, I used a frozen crust.)

Directions: mix, pour into pie crust and bake at 425 for 15 minutes, then reduce heat to 350 and bake for another 50 minutes.  Serve with homemade whipped cream for extra yum factor!

Deep Thoughts: I intentionally chose a recipe with kind of a long list of ingredients. I figured that by adding a little more personality I might like this dessert a bit more.  It didn’t work–but like I said, everybody else loved it so I think I’m the exception here.  Just don’t know what it is about pumpkin pie…

Pumpkin Palooza

pumkins!

So IF you’re going to throw your third grade daughter a joint birthday party with her classmate whose birthday is four days later and whose mother is a good friend, I definitely recommend a pumpkin palooza theme–IF, you know, the party lands in October.

And what does one do at a pumpkin palooza party?  Glad you asked.  Really, in today’s world of commercial holidays, it took my girlfriend Jen and I about 30 seconds to come up with 30 pumpkin-y options.  We went with decorating artsy-shmartsy pumpkins (photo above–aren’t they cute!) and baking pumpkin bread.

Josie’s Pumpkin Bread (which, yes, is really more like a pumpkin cake if you must know)

pumpkin bread

Ingredients: 1 1/2 cups sugar, 1 tsp. baking soda, 1/4 tsp. baking powder, 3/4 tsp. salt, 1/2 tsp. each: cloves, nutmeg, cinnamon, 1 2/3 cup flour, 1/2 cup oil, 1/2 cup water, 1 cup pumpkin, 2 eggs

Directions: Mix dry ingredients, add the rest.  Grease bottom of two bread pans and pour 1/2 way full.  Bake at 350 for 45 mins.

Tips: IF you ever supervise 10 third grade girls (plus a few siblings, etc…) while they each make their own loaves of bread and IF you are doubling the recipe while floating among the chaos, and IF you accidentally forget to double the flour in one of the bowls (you know, hypothetically speaking of course) then just go ahead and bake the bread for another 20 or so minutes.  It might look a bit funny, but it will still taste good–and be extra moist!  (At least I think that’s what would happen…)

Turkey Soup

Turkey soup

(Check me out on Hometown Pasadena this week!)

Doesn’t this look delicious?  It was.  My turkey soup was super-duper yumola.

My turkey soup was also super-duper easy-peasy.

Michelle’s Turkey Soup
Ingredients: Cup or so of diced leftover turkey, leftover savory rice from the other day, 5 or so cups of turkey or chicken broth, salt, pepper, two spoonfuls of organic “Better than Boulian,” splash of white wine (optional) egg noodles.

Directions: Put everything except the egg noodles in a pot and simmer.  Add salt, pepper, wine and “better than boulian” to taste.  Cook egg noodles separately and add to soup right before serving to avoid them becoming overcooked.

Tip: The noodles are not really needed as the soup was divine without them.  I added them anyway because I had a 1/2 bag sitting in my pantry and who doesn’t like a few noodles in their turkey soup?

Final tip: Consider the order of my recipes as they have been posted (interrupted by the spellbinding story of Forgetful Rhea and the Viola)  Pretty much all I had to do to to make this soup was to throw the leftovers from a previous meal into a pot with some broth.  THAT’S IT.

I’m going to post directions for making your own soup stock from the carcass of a turkey or chicken soon too.  It’s worth the effort!