I met this chili, and Kitty Purgason, at the Pasadena Covenant Church meal contest last fall. This church provides shelter and meals to homeless folks on cold, wet winter nights.. Roughly 12 members of the congregation volunteered to whip up their favorite home-cooked recipes, provide a “taste off,” and use a vote to choose the upcoming menu.
People, this is my kind of church experience–it’s got “Midwest” written all over it.
My Michigander transplant girlfriend, Lisa, is a Covenant Church member and she lets me tag along when I’m in the mood. As a native Minnesotan raised in a Methodist home and church, from the first time I popped my eclectically-spiritual face onto the Covenant scene I felt right at home. Throw in a pot-luck taste test with a recipe made by the you-can’t-get-more-Midwestern-than-this: Kitty Purgason… Girlfriend, that is a taste of Michelle’s heaven.
The Midwestern United States isn’t exactly known for its gourmet approach to food. Common references to “casseroles” and questions regarding the usage of cream of mushroom soup have arisen. And while, yes, casseroles (actually, the correct term is “hot-dish,”) and cream of mushroom soup are something with which we Mid-westerners are familiar, we offer much more to the culinary world.
The Midwestern philosophy to cooking is actually quite a hat-tip to the modern mama. Savory. Efficient. Satisfying. Wholesome. These are words that, when used to describe dinner, are often met with smiles. I said SMILES. Who couldn’t use more of those at the table?
I love Kitty Purgason’s White Chicken Chili for three reasons. First of all, it’s easy-tasty-healthy. Second, the ingredients can be kept on hand (most in the pantry) for easy whip-up’ed-ness. Also, you can totally fudge the quantities on pretty much everything (just throw in extra this if you are missing a can of that) and still present a delicious meal for your family. Now you can smile too!
Finally, the name Kitty Purgason makes my heart smile. Back in Rochester, Minnesota I had a classmate named Kitty who, in the third grade, helped me with fractions and taught me how to draw trees that didn’t resemble lollipops. My childhood friend, Kitty, was friendly and generous, much like the Covenant-Church-Kitty I recently met.
Besides “Calva,” my elementary classroom rosters had a list of surnames including Torgrimson, Olson and Thompson. So, when kind hand of someone named Kitty Purgason was extended to me over my chili sample that fall day, I just knew this recipe would join my life and table.
Now it can join yours too.
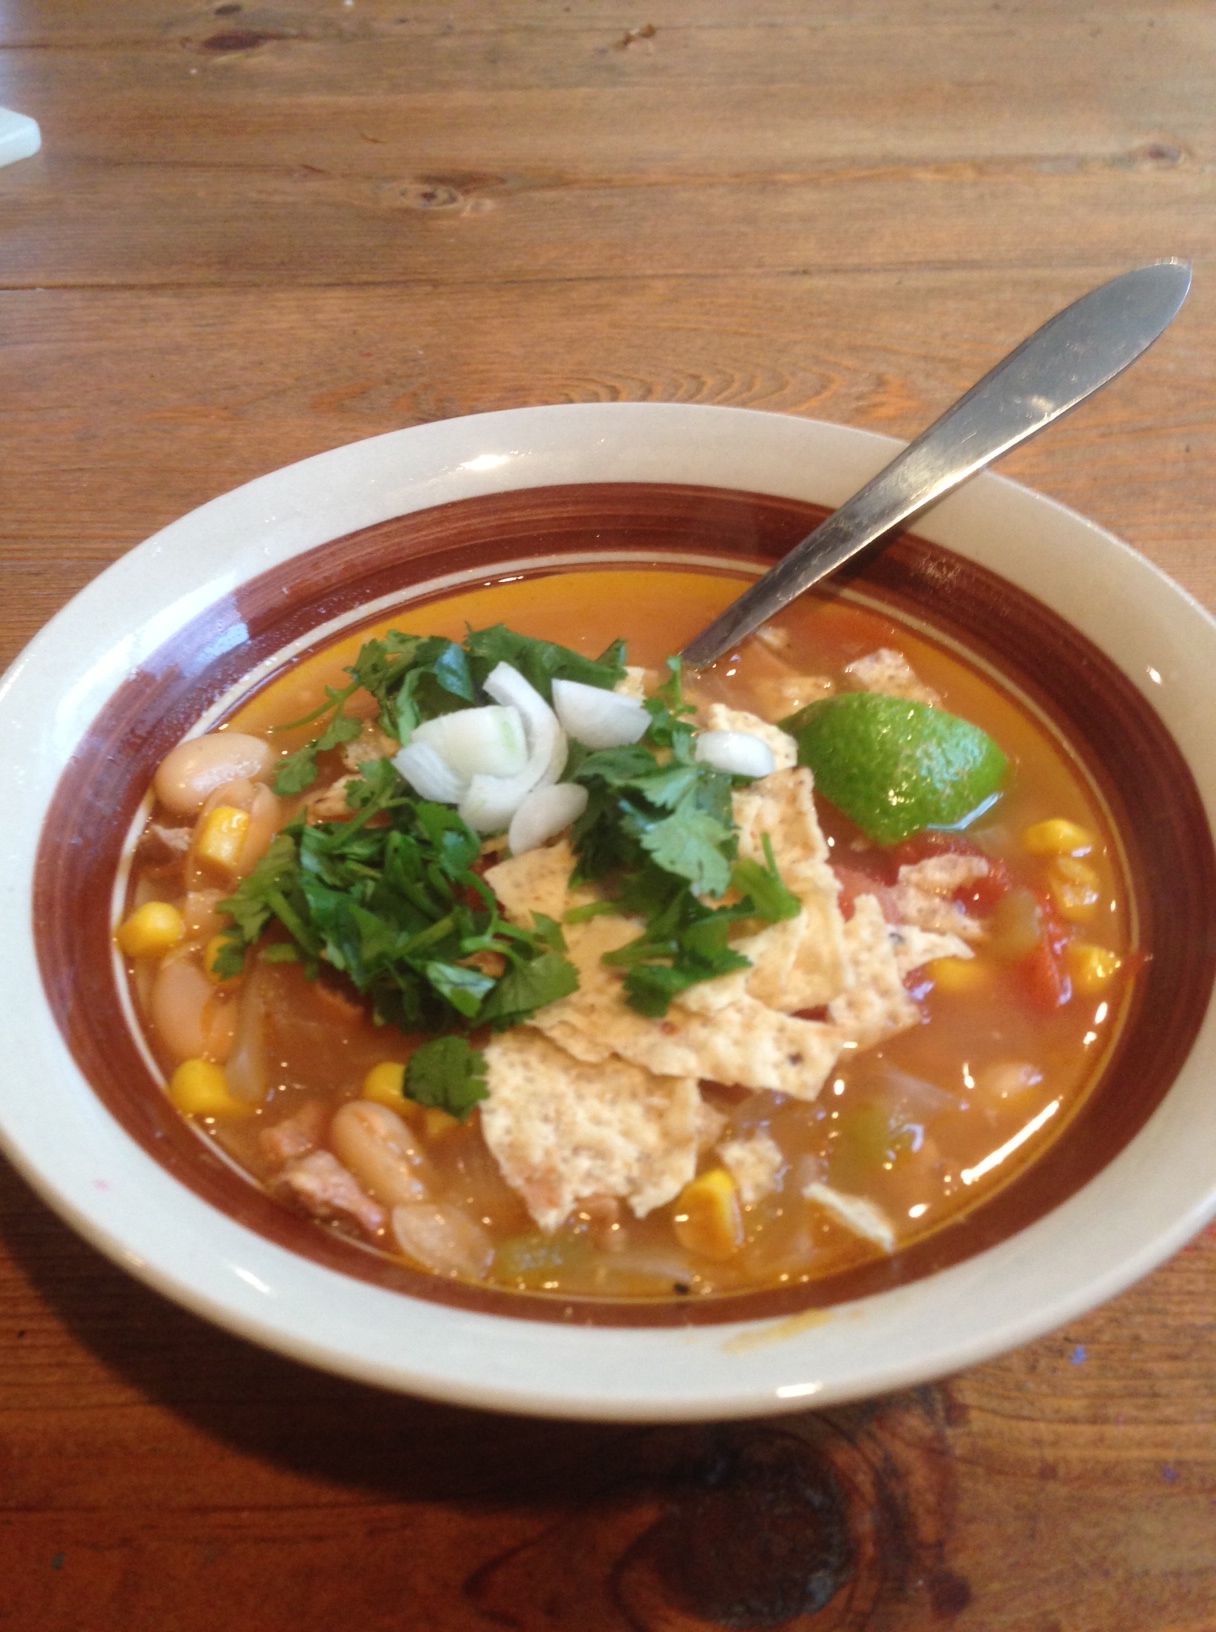
Kitty Purgason’s White Chicken Chili
Chili Ingredients: 1 chopped onion, 2 crushed garlic cloves, couple three cans chicken broth (0r approximate equivalent), leftover diced cooked chicken, 1 can drained white or pinto beans, 1 can corn (drain but save liquid in case you need it), 1 can chopped tomatoes with liquid, 1 (or 2) small can mild green chilis, optional: chopped fresh tomatillos if available. See toppings ingredients below…
Definitely serve with: fresh lime, tortilla chip crumbles Optionally serve with (unless you’re at my house, then this is definite too!): sour cream, fresh chopped cilantro, diced green onion, hot sauce
Directions: Saute onion and garlic with a few splashes of olive oil. Add everything else and bring to a simmer. Um… you’re done and it likely took all of 12 minutes.
Notes: This is a very mild chili, which works great for my kids. We all love the lime and chips on top and I put the rest of the accoutrements on the table and we sprinkle as desired. Mike and I add hot sauce, but of course… Doctoring your bowl of yum up with all the fixin’s is really half the fun. Also, even though I live a stone’s throw from a Latino super market and could get tomatillos in a second, I have never gone to the trouble when making this recipe and and it still tastes stellar.
Final Note (still with me?): Feel free to use fresh corn, fresh tomatoes, etc… if you have them on hand, of course. But isn’t it nice to know you don’t have to?

 Where I have been?